Gigabyte Z77X-UP7 Review: OC Oriented Orange Overkill
by Ian Cutress on March 1, 2013 10:30 AM EST- Posted in
- Motherboards
- Intel
- Gigabyte
- Z77
Gigabyte Z77X-UP7 BIOS
When a motherboard manufacturer develops a range of products, most of who I am expects to see some form of product segmentation when it comes to interaction with the motherboard beyond hardware. With the ASUS ROG range and Fatal1ty by ASRock, our BIOS and software both get new skins, even if there is not anything fundamentally different in the software itself. Both ASUS and ASRock have the benefits of easy and understandable systems to work with, but in the past Gigabyte has not had the luxury. Perhaps this is partly why the Z77X-UP7 BIOS (and software) uses the same old systems we have reviewed before – there is more worth in diversifying something good than partitioning out the average, especially when the competition is highly competitive.
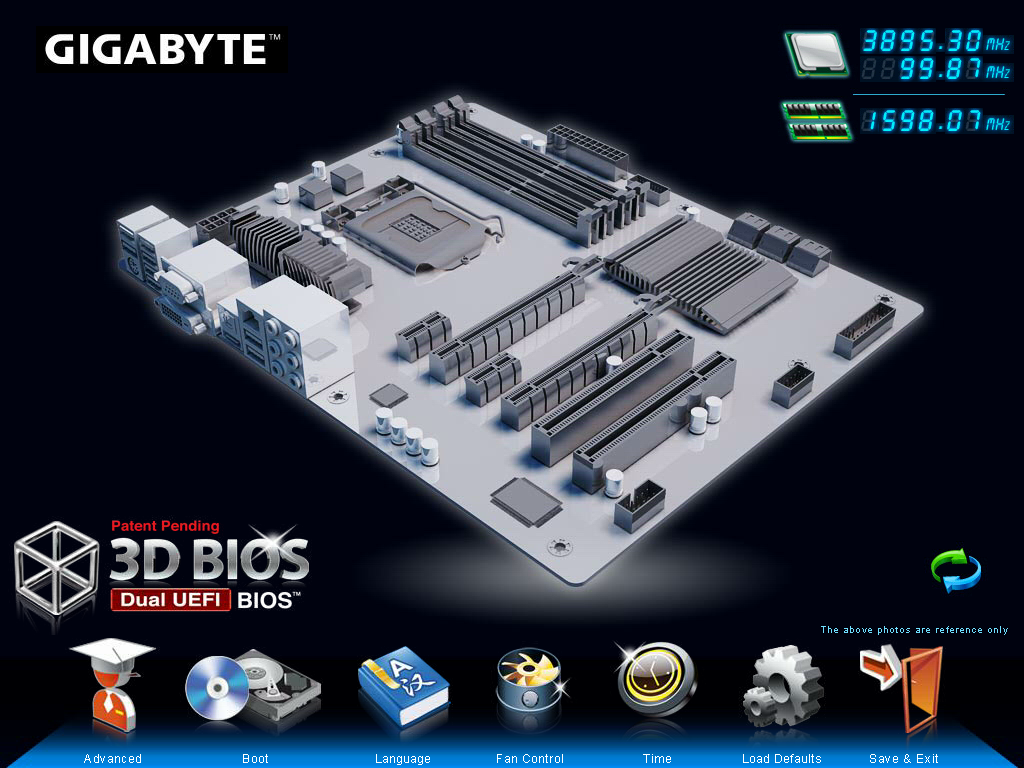
So for the Gigabyte Z77X-UP7, our mainstay in the BIOS is the ‘3D BIOS’ representation. In previous reviews we have labeled this as near to a mild gimmick as you can get – an oblique image of Generic Motherboard #234, with various parts of the board that can be highlighted. If the user has no knowledge of what a motherboard looks like, this means nothing, as there are no tool-tip popups when the SATA or PCIe are selected, or any indication of what a BIOS is for. We have no indication of what motherboard is actually being used, what BIOS revision is installed, what CPU is installed, how much memory is installed, or any vital temperature/voltage/fan values. While I understand the split between using the BIOS as a marketing tool for the system (as most vendors do) compared to using the BIOS as a marketing tool for the motherboard (Gigabyte), this is an odd and frankly bad way of going about it. I cannot tell a family member down the phone to select the memory slots for XMP if they do not know what memory slots look like and there is nothing to guide them there. I impatiently wait for an updated version of this front screen geared towards a more user friendly experience and full of informative data on the system.
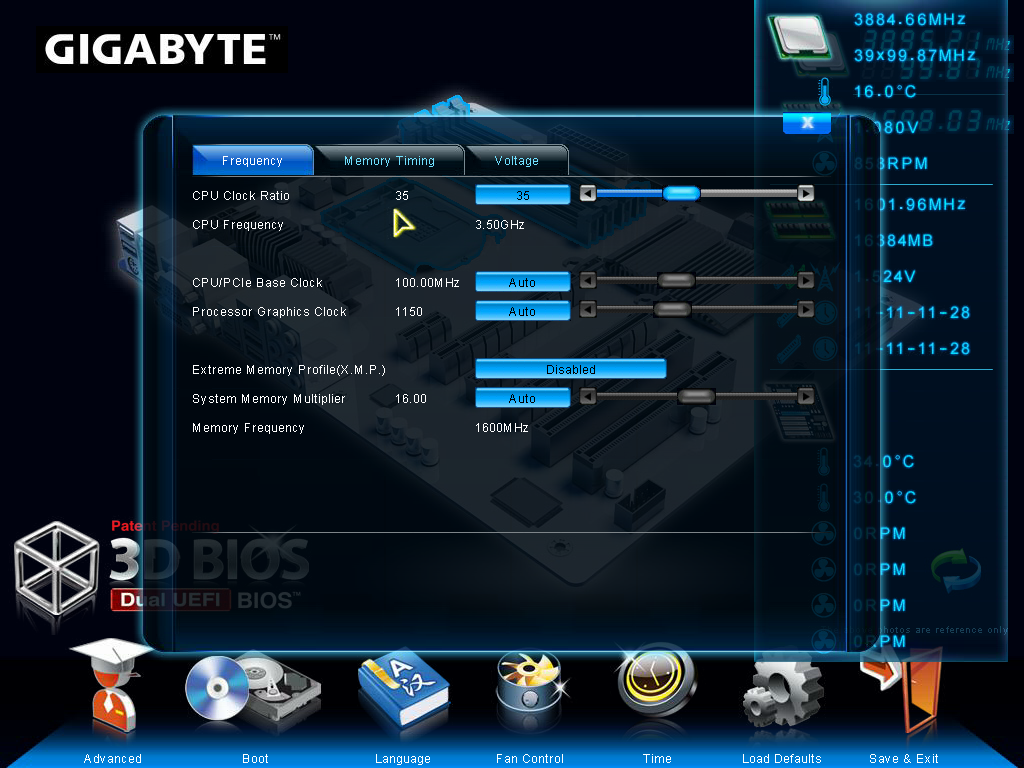
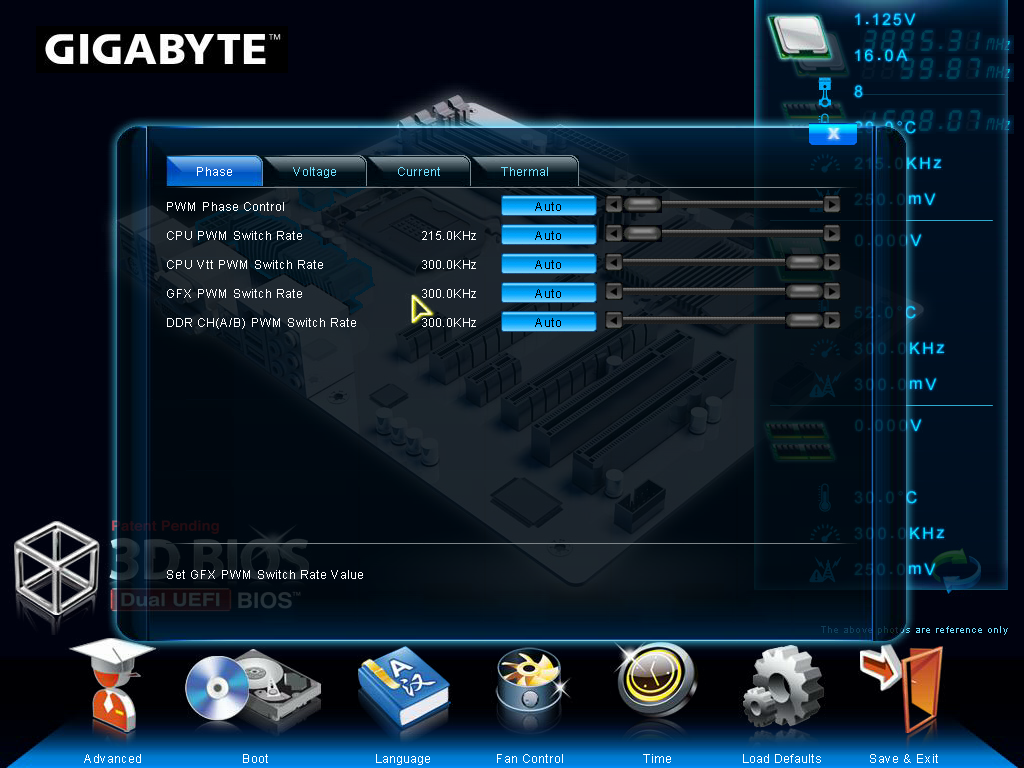
Rants aside, functionality wise each part of the motherboard does display a few options. The CPU options involve frequency and voltage adjustments with a section for memory, the SATA options allow changing of the controller mode (AHCI as default, but also IDE and RAID), and the rear IO deals with enabling/disabling controllers along with USB functionality. The power delivery sub-menu offers phase control, as well as various voltage, current and thermal options. Most of these sub-menus are merely the same as their ‘advanced’ menu counterparts but with sliders where appropriate.
In this front screen we also get icons on the bottom to adjust the boot order, the language of the BIOS, and our basic fan controls. Over the past couple of years the Gigabyte fan controls have spanned a small range from a confusing mash of odd value assignments to basic gradient application. Despite the numerate fan headers on board, only the 4-pin ones are controllable, and Gigabyte will give you access to that gradient in odd units known as PWM value/°C.

For the non-engineers, the higher the number of this option will result in the fans receiving more power at lower CPU temperatures (i.e. a more aggressive fan control). This is despite the fact that a fan speed profile is never linear, shown by my CPU fan:
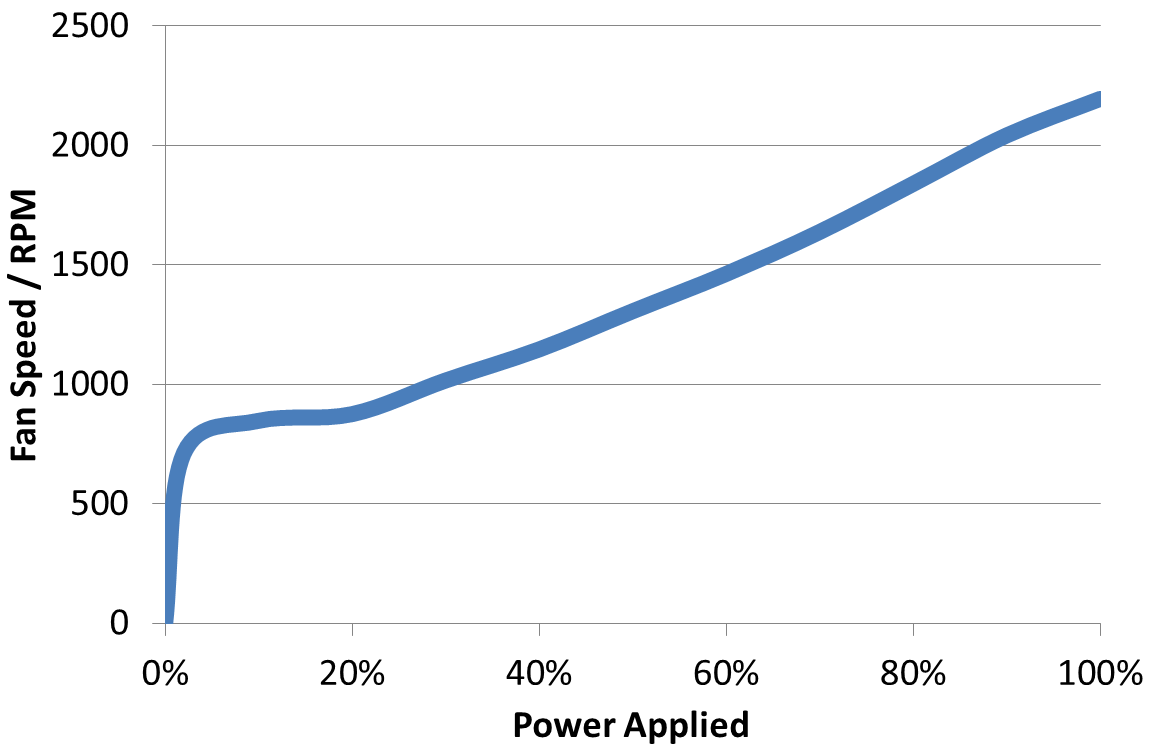
Below 5% power, my fan is essentially off. From 5-20%, the fan spins at 800 RPM regardless of how much power is applied. Above this the RPM to Power ratio is fairly constant. What motherboard manufacturers should be doing (ASUS do this in software, Biostar do it in the BIOS) is giving an option for a fan test, polling this data, and then adjusting the fan profiles via software to match. A common response is that ‘it’s more complex than you think’ or ‘it’s too complex’ – when dealing with two inputs (CPU temperature, fan speed) and one output (power applied), writing black box software to connect them in various ways should be a stroll in the park for any trained programmer.
Second rant aside, the bulk of the BIOS is actually a lot more readable in the Advanced menu (icon on the bottom left). Opening this takes us straight into the M.I.T. (Motherboard Intelligent Tweaker) tab, which offers some of the information we should have had before – BIOS version, CPU temperature, VCore. It is still missing the words ‘Gigabyte Z77X-UP7’ and ‘i7-3770K installed’ however.
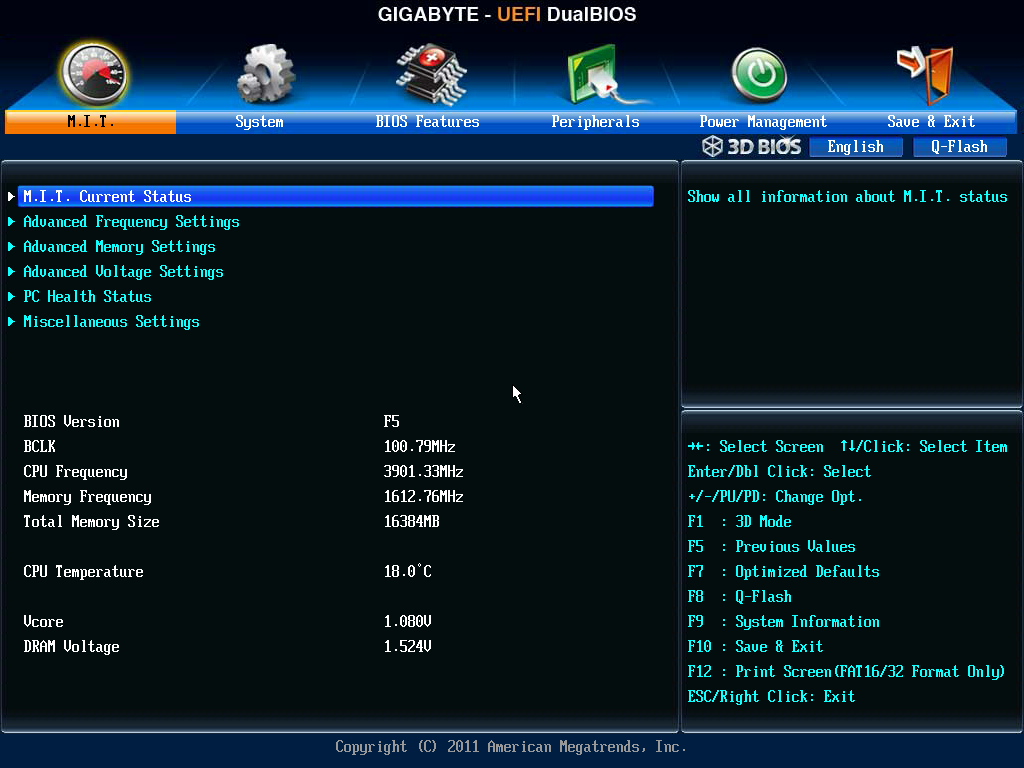
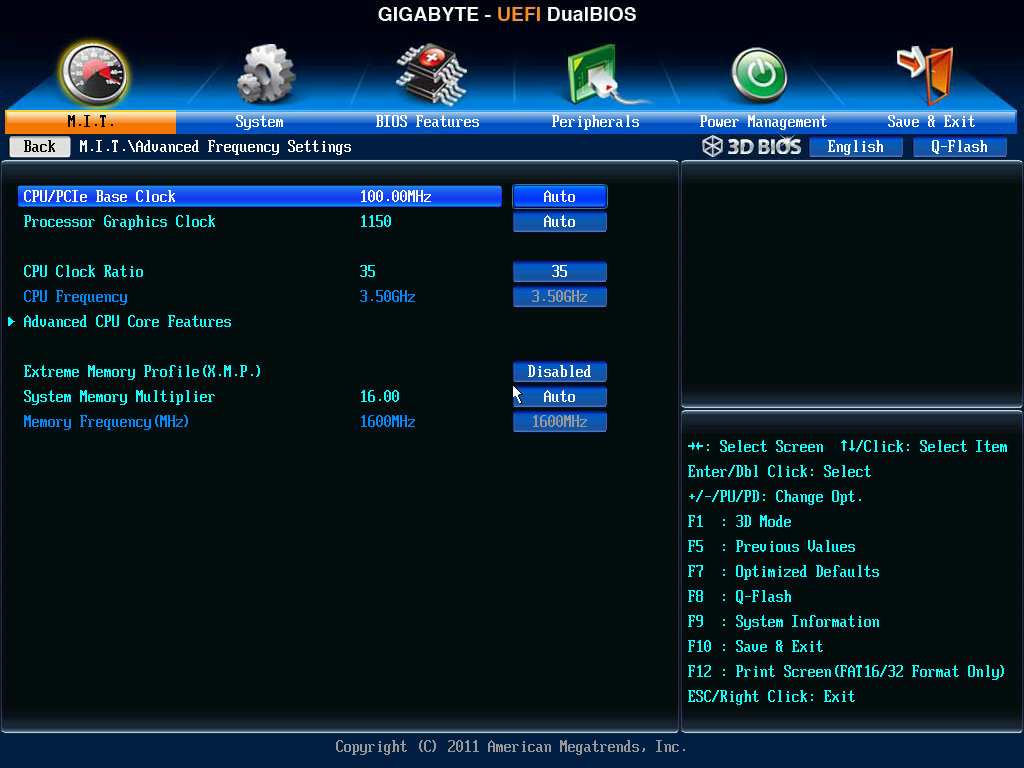
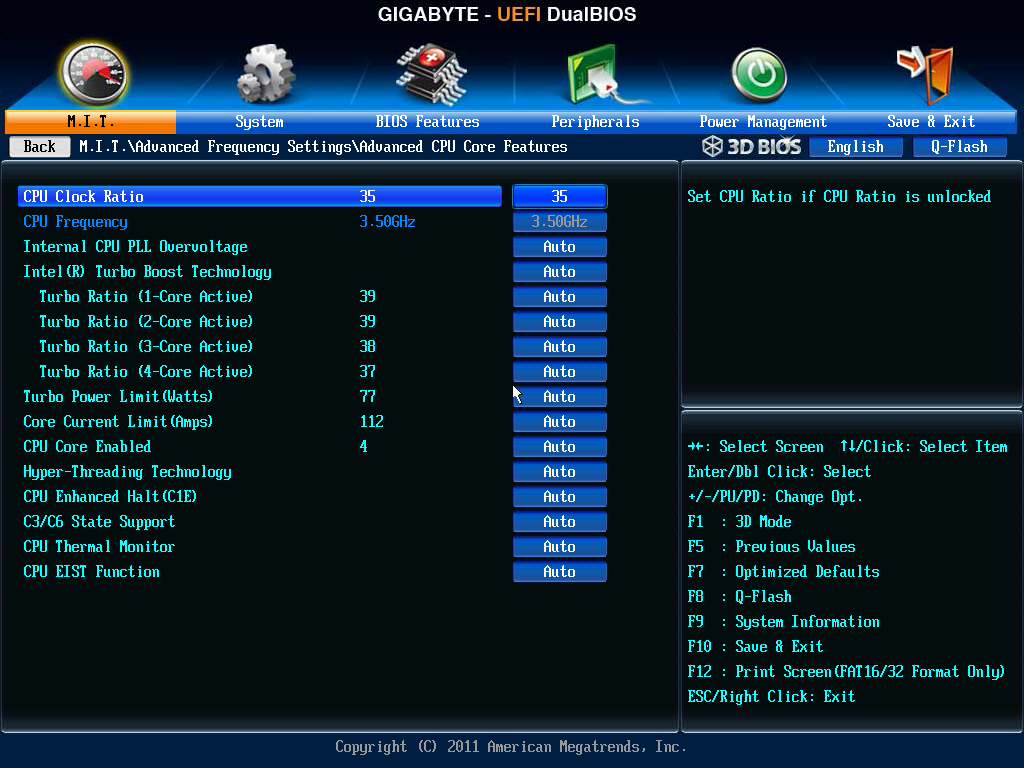
The MIT tab gives sub menus for a current status screen, frequency settings, memory settings, voltage settings, PC Health (i.e. fans) and a couple of other miscellaneous options. The frequency settings menu is where most overclockers will head, and the basic options to adjust multiplier, base clock and memory are here, with power options in a sub-menu off of this one. What are not here are the voltage options. I had a brief argument with HiCookie, Gigabyte’s in-house overclocker, the last time I met him about why this is the case. Personally, when overclocking the CPU, I want all my CPU options in a single menu – multiplier, BCLK, power options, voltages and temperature readings. In HiCookie’s experience, he wants everything in separate menus – when he wants to change a voltage, he wants a menu with all the voltage options. I can see how doing it that way may help such that users do not accidentally pump 2.0 volts through their new CPU, but the only users in this menu would be the enthusiasts. Perhaps we can have both - keep the separate menus for 3D BIOS mode, and give me one page for the CPU options including voltages and temperature sensors, and another for memory settings too.
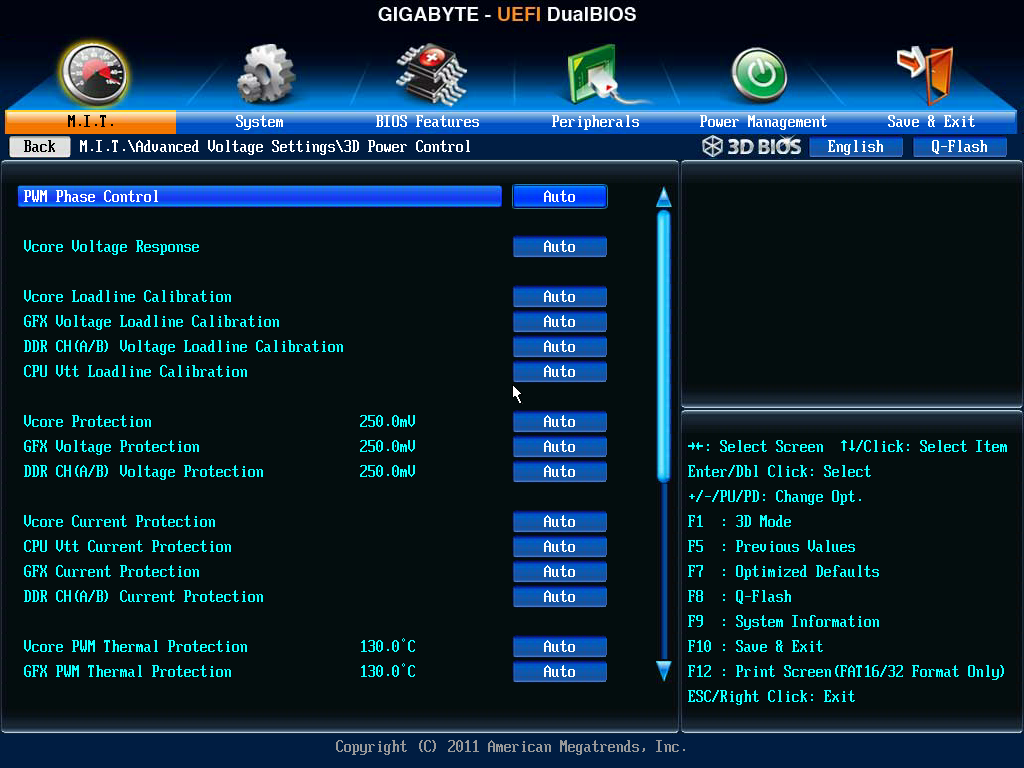
The 3D Power options are fairly substantial, allowing the user to adjust thermal protection limits, switching rates, over current protection and over voltage protection. However it still seems odd that Gigabyte have split almost everything into separate menus. For example, when dealing with just the voltages, the CPU options and memory options are in separate menus. Doubly worrying is that although Gigabyte has left a space on the top right as a description box for the option selected, the descriptions are short or either non-existent.
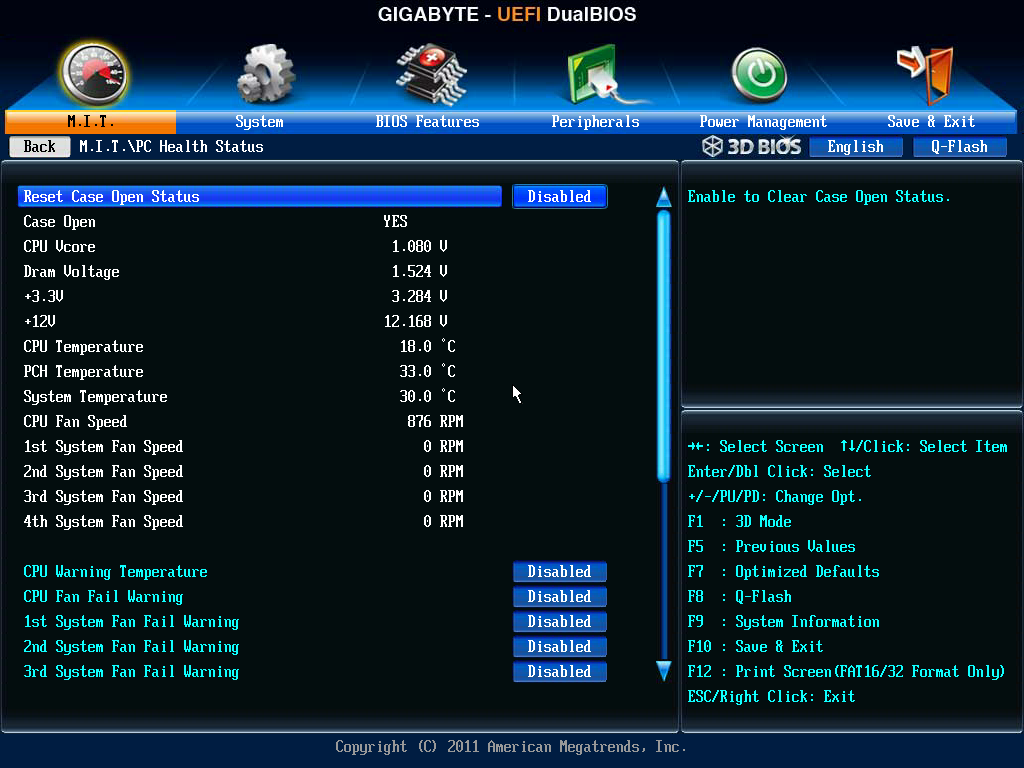
The fan options are in the MIT->PC Health menu, where we get most of the sensor readings – some voltages, onboard temperatures and fan speeds. By default all the warnings the board can provide (fan fails and CPU temperatures) are disabled, and our fan options are just as limited as in 3D BIOS mode.
Oddly enough Gigabyte does not allow direct control over the PCIe lane allocation. In most high-end motherboards, we are able to select individually which of the PCIe slots are to be PCIe 3.0 enabled, and drop them down to PCIe 2.0/1.1 if compatibility is an issue. On the Z77X-UP7, we only get a single option to control all PCIe slots – ‘PEG Gen3 Slot Configuration’, in the MIT->Miscellaneous menu.
Other options in the BIOS are as regular as any other system – boot order, controller functionality, Smart Connect Technology, Rapid Start Technology and SATA modes. The UP7 also has a segment in the BIOS features menu for Windows 8 quick POSTing, under CSM Support. Ideally this should be wrapped up into an easier set of options to make it easier to understand – not everyone knows that under Windows 8 these should be adjusted for those quick POST times. A final positive note is that Gigabyte includes Boot Override, an option for a single time boot from a specified device – very handy when installing an OS via USB.


41 Comments
View All Comments
IanCutress - Friday, March 1, 2013 - link
This is an 1155 product, as shown by the fact that it uses the Z77 chipset and I use the i7-3770K to test it. The original OC board was 1366.sherlockwing - Friday, March 1, 2013 - link
What are you smoking, this board is called Z77X-UP7, it is a LGA1155 Z77 board. Where did you get LGA1366 from?dawp - Friday, March 1, 2013 - link
probably from the X58A-OC reference in the article.Samus - Friday, March 1, 2013 - link
Don't hate.xdunpealx - Friday, March 1, 2013 - link
580s? who no 660 or 660ti or even 670s?sna2 - Friday, March 1, 2013 - link
Hi ,we all know this PLX is not real .. the CPU itself supports fixed number of PCIe lanes ... the PLX switches between them thats all ..
If you want to spend that amount of money on a motherboard , then just get an LGA 2011 CPU with C606 or X79 chipset ..
what is the point of all this ? any one who wants 3 or 4 ways SLI , can pay for the LGA 2011 CPU , actually this motherboard is more expensive than the X79 ones.
ANAND , we need you to test PLX VS no PLX performance !
THANKS !
IanCutress - Sunday, March 3, 2013 - link
Hi sna2,If you would direct your attention to:
(a) the GPU results page where I showcase PLX vs. no PLX performance on a single GPU and
(b) my initial discussion on the PLX chip (http://www.anandtech.com/show/6170) where we discuss what the advantages and disadvantages to how the PLX chip actually works.
Yes overall the lanes are limited to 16 upstream and downstream to the GPU, but when dealing with multi-GPU configurations, most data transfer between GPUs (important for gaming and compute) via the PLX, not via the CPU, making the increased lane count between the GPUs more important than the upstream/downstream via the CPU.
Without the PLX, manufacturers are limited to x8/x4/x4 GPU setups with Ivy Bridge CPUs, where compute platforms, some gaming setups, or even a mix with RAID cards and sound cards need the lane allocation to work the way the user wants.
Ian
CNP-Keythai - Saturday, March 2, 2013 - link
I think the board looks cool, price is good too. Would recommend it.kmmatney - Saturday, March 2, 2013 - link
I'm going to buy it just for use around Halloween.Beenthere - Saturday, March 2, 2013 - link
The "orange" in addition to making this mobo look like a Halloween joke... increase sales to the technically challenged. When you hear people talk about how they like the color of the hardware box, RAM, PSU, mobo, etc. it's because they have missed the plot all together.